Welcome to XiYu

CNC Prototype Machining: From CAD Drawing to Finished Part


CNC prototype machining helps engineers and product teams turn a CAD design into a physical part before moving into larger-scale production. A machined prototype can be used to evaluate fit, function, assembly, material choice, surface appearance, and design assumptions in a real-world format.
For many custom hardware projects, the prototype stage is where important questions are answered: Does the part fit with mating components? Are the critical features accessible for machining? Is the material suitable for the application? Are the specified tolerances necessary?
A well-prepared prototype project provides useful feedback before design decisions become more expensive to change.
What Is CNC Prototype Machining?
CNC prototype machining is the production of a limited number of parts using CNC milling, turning, or related machining operations. It is often used when teams need functional components made from production-relevant materials rather than a purely visual model.
Prototype machining can support:
- Functional testing and engineering validation
- Assembly checks with mating components
- Material and finish evaluation
- Design-for-manufacturability review
- Early customer, stakeholder, or product-development samples
- Preparation for pilot or production planning
The prototype does not have to be a final production design. In many cases, its purpose is to reveal what should be changed before the next revision.
From CAD File to Manufacturability Review
The process normally starts with a usable 3D model and a 2D drawing. The CAD model defines geometry, while the drawing communicates tolerances, threads, finishes, materials, and other functional requirements.
| Information | Why it matters for a prototype |
|---|---|
| 3D CAD model | Clarifies geometry and supports machining planning |
| 2D drawing | Defines dimensions, tolerances, threads, and notes |
| Material requirement | Helps evaluate function, machinability, and cost |
| Prototype quantity | Supports setup and process planning |
| Surface finish | Clarifies appearance and functional expectations |
| Critical features | Focuses machining and inspection attention |

Before machining begins, the design should be reviewed for feature accessibility, workholding requirements, thin walls, deep pockets, tight internal corners, and part-to-part relationships. These factors can influence prototype cost, machining method, and the usefulness of the final sample.
Choosing the Right Prototype Material
Material selection should reflect the purpose of the prototype. If the part is intended for functional testing, it may be useful to select a material that represents the expected production condition. If the goal is only to check assembly geometry, a different material may be acceptable.
| Prototype goal | Material consideration |
| Functional load testing | Select a material that reflects intended performance needs |
| Corrosion or environment review | Consider the real operating environment |
| Assembly and fit verification | Focus on geometry and critical interface requirements |
| Visual or finish evaluation | Confirm surface appearance and finishing expectations |
| Early cost assessment | Compare practical material options before production |
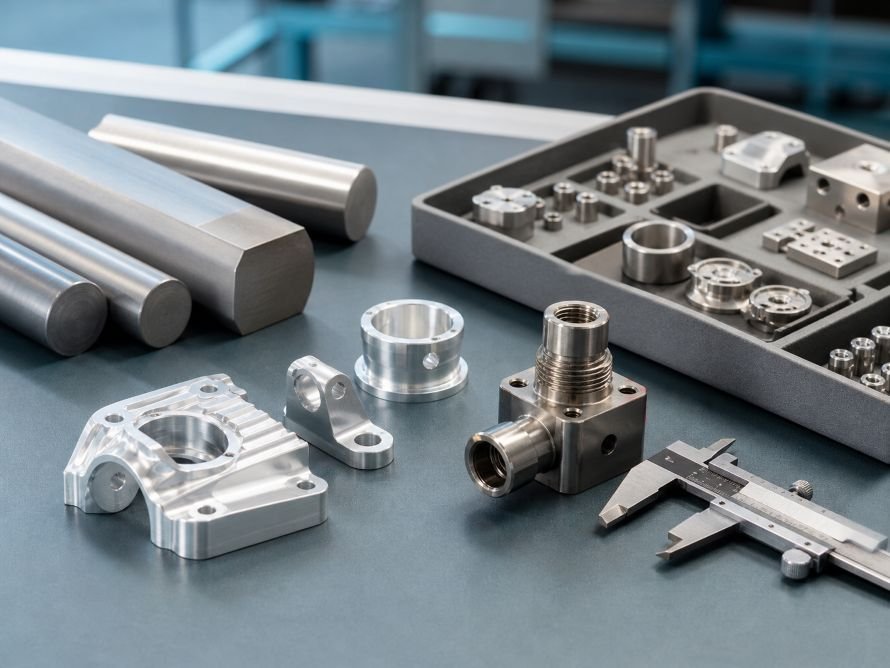
What Materials Can Be CNC Machined? provides a useful overview of common CNC material choices. If stainless steel is under consideration, CNC Machining Stainless Steel: What Buyers Should Know explains why material grade and machining requirements can affect the project.
How a CNC Prototype Is Machined
The machining route depends on the part geometry. A part with pockets, profiles, and drilled features may primarily use CNC milling. A round component with shafts, threads, or concentric diameters may require turning operations. Some projects use a combination of processes.
A typical prototype workflow may include:
- Review the CAD model and drawing
- Confirm material and critical feature requirements
- Plan the machining setup and workholding method
- Machine the first part or first set of features
- Inspect critical dimensions and functional interfaces
- Complete required finishing or secondary operations
- Review the part for design feedback and next-step decisions

CNC milling is commonly used for prototype parts with complex prismatic geometry. The important point is not the process name alone, but whether the design can be machined efficiently while maintaining the features needed for testing.
Inspection and Prototype Feedback
The value of a prototype is not limited to receiving a physical part. It also comes from what the team learns after inspection and assembly.
| Review area | Questions to ask |
| Dimensions | Do critical features match the intended assembly requirements? |
| Fit and function | Does the part mate, move, seal, or locate as expected? |
| Material | Does the selected material support the intended application? |
| Surface finish | Is the appearance or texture suitable for the requirement? |
| Manufacturability | Are any features difficult, unnecessary, or costly to produce? |

Critical dimensions should be identified clearly in the drawing. For parts with fit, motion, sealing, or alignment requirements, practical tolerance planning is especially important. See CNC Machining Tolerances: What Can You Achieve? for guidance on specifying accuracy according to part function.
The feedback from a prototype may lead to a design revision, a material change, a tolerance adjustment, or a different finish requirement. Making these decisions early can reduce risk before production quantities increase.
Prototype Quantity and Cost Planning
Prototype orders are often lower in quantity, which means setup, programming, and first-piece review are spread across fewer parts. This is normal for early-stage work.
Cost can be better managed when the RFQ clearly states:
- The required prototype quantity
- Whether additional design revisions are expected
- The estimated future production quantity
- Which dimensions are critical for prototype validation
- Whether the material and finish must match the planned production part
For a detailed view of pricing factors, see CNC Machining Cost: What Factors Affect Pricing?. A prototype should focus on the information needed for the next decision, rather than adding unnecessary complexity before the design is validated.
What to Include in a Prototype Machining RFQ
A complete RFQ helps a machining supplier understand what the prototype is intended to prove.
Include:
- A STEP, IGES, or another usable 3D CAD file
- A 2D drawing with dimensions, tolerances, threads, and notes
- Material grade or acceptable material alternatives
- Prototype quantity and future demand estimate
- Surface finish and cosmetic requirements
- Critical features for inspection or assembly testing
- The prototype’s purpose, such as fit check, functional test, or design review
The clearer the intended use, the easier it is to prioritize the right aspects of the prototype.
For a broader sourcing framework that connects prototype decisions with production planning, materials, tolerances, cost, quality checks, and supplier evaluation, see our CNC machining in China buyer’s guide.
FAQ
How many parts are needed for CNC prototype machining?
The required quantity depends on the purpose of the project. A small number may be enough for a basic fit check, while functional testing, multiple assemblies, or stakeholder samples may require more parts.
Can a CNC prototype use the final production material?
Yes, when functional testing, environmental exposure, strength, or finish evaluation requires a representative material. The right choice depends on what the prototype needs to validate.
Is CNC prototype machining suitable for complex parts?
It can be suitable for parts with pockets, holes, threads, profiles, and multi-face features. The design should be reviewed to confirm machining access, workholding, and tolerance requirements.
What happens after a CNC prototype is approved?
The next step may be a design revision, a pilot quantity, further testing, or production planning. The prototype results should guide the decision rather than be treated as a standalone output.
Need Support With a CNC Prototype Project?
A clear CAD package, defined prototype purpose, and identified critical features provide a strong starting point for prototype machining.
Contact Xiyu Hardware to discuss your prototype part requirements.